Pioneering Program Curriculum V: Shear Lashing

This is the fifth post in a series that will eventually comprise an activity-based, unit pioneering program curriculum.

SUPPORTING VIDEO: How to Tie a Shear Lashing

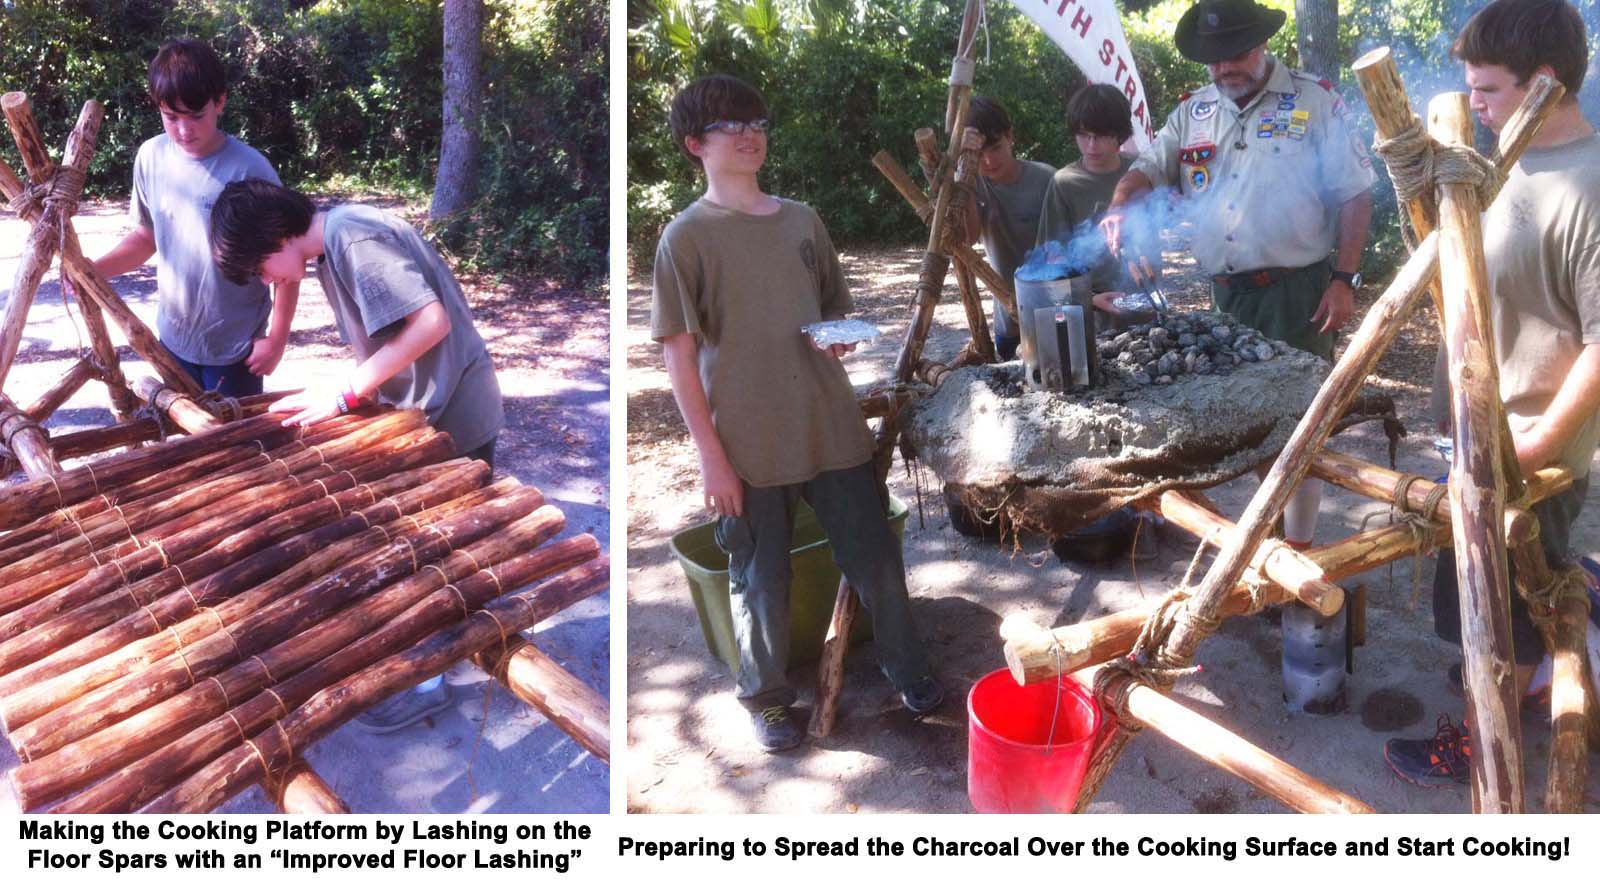
V. With the square lashing under their belts, Scouts can start to actually build pioneering projects. Though the basic and oft-used A-frame can be readily completed using three square lashings, the shear lashing is most frequently chosen to start lashing together this common support structure.

OBJECTIVES

A. Scouts will demonstrate they can tie a shear lashing by:

  1. starting off the lashing with a clove hitch around one pole
  2. wrapping the lashing rope eight to ten times around both poles
  3. taking two frapping turns between the poles around the wraps
  4. completing the lashing by applying two half hitches around the opposite pole (clove hitch)

B. Scouts will demonstrate they can construct an A-frame by:

  1. connecting the tips of two poles with a shear lashing
  2. spreading the poles apart to form an inverted ‘V’
  3. lashing a pole to the butt ends of the ‘V’ with square lashings

MATERIALS

  • Three Scout Staves for each Scout
  • One 10-foot x 1/4-inch manila lashing rope for each Scout
  • Two 6-foot x 1/4-inch manila lashing ropes for each Scout

PROCEDURE A

1) The instructor shares the purpose and application of the shear lashing, explaining how we use it when we want to connect two spars and open them out to form the legs of an A-frame.

2) Scouts gather around the instructor who, using two Scout Staves and a 10-foot lashing rope, demonstrates lashing the ends of the staves together with a shear lashing, narrating each step as he does.

Two Scout Staves joined at the end with a Two-Stave Shear Lashing
Two Spread Scout Staves Joined at the Top with a Two-Spar Shear Lashing

3) With the assistance of the instructor(s), using two Scout Staves and a 10-foot lashing rope, each Scout proceeds to to tie a shear lashing applying the following steps:

  • The two staves are placed parallel to one another either on the ground, resting on a log, or leaning against a wall.
  • A clove hitch is tied to one of the staves at around 6 inches from the end. (Depending on the structure being lashed together, the placement of the clove hitch can vary from 6 inches to 18 inches or more, from the end of the spar.)
  • A 4 to 6-inch tail is left in the short running end, which is wrapped around the standing part serving to secure the clove hitch, before proceeding with the wraps.
  • The long running end is wrapped around both staves eight times, evenly and away from the ends. (The directive is 8 to 10 wraps, and sometimes as little as 5. The greater number of wrapping turns, the stiffer the lash will be.)
  • After the wraps, both staves can be held upright and spread a bit to make room for two tight frapping turns taken around the wraps and between the staves.
  • After the fraps, a half hitch is applied to one stave. cinched up close to the fraps and pulled tight. Then another half hitch is applied, cinched up and tightened to form the finishing clove hitch. (Preferably, but not necessarily, the final clove hitch is tied to the opposite pole on the opposite side of the first clove hitch.)
  • The two legs are spread farther apart to form and inverted ‘V’ and the lashing is evaluated to determine if it is well-formed and tight enough to resist sliding.

PROCEDURE B

1) When their shear lashing is adequately completed, each Scout is given a third Scout Stave and two 6-foot lashing ropes.

2) With square lashings, each Scout joins one end of the third stave to one leg of the inverted ‘V’ and then the other end of the third stave to the other leg of the inverted ‘V.’ (Both ends should be lashed in the same position on each leg, and the square lashings should be tied tightly so they don’t slip.)

3) When all three lashings are well-formed and tight enough, each Scout should pick up the resulting A-frame and give it a shake, testing that it is indeed sturdy.

Page 397
Shear Lashing with Plain Turns

INTERPATROL COMPETITIONSimple A-Frame Chariot Race

Related Post with Photographed Lashing Procedure: The Somewhat Ambiguous Shear Lashing

PIONEERING CURRICULUM: MAIN PAGE

The Somewhat Ambiguous Shear Lashing

VIEW VIDEO: How to Tie a Shear Lashing

Scouts Lash the Tops of Their Sheer Legs with a Two-Spar Shear Lashing to Begin Their Single A-Frame Bridges
Scouts Lash the Tops of Their Shear Legs with a SHEAR LASHING to Begin Their Single A-Frame Bridge

DEFINITION: ambiguous |amˈbigyoōəs|adjective(of language) open to more than one interpretation; having a double meaning; unclear or inexact

Put the two timbers together and tie a clove hitch near the top of one. Bind timbers together by seven or eight turns. Make turns loose, one beside the other. Make two complete frapping turns around lashing turns between the timbers. Fasten securely with clove hitch around one timber. Open out the timbers. Note: Two shear lashings without frappings and with the clove hitch around both timbers are used to lash two timbers into one long one.
From the 1981 Printing of the Pioneering Merit Badge Pamphlet

One Thing is NOT Ambiguous! The shear lashing’s USE is quite clear. References to the lashing in John Thurman’s Pioneering books, in John Sweet’s Scout Pioneering, and the Lashing section in the Pioneering Merit Badge Pamphlets by Pioneering Legend Adolph Peschke all describe its fundamental use exactly the same way. Putting it neat like John Sweet: Use a sheer lashing “when two spars are to be opened out like scissors to make a pair of sheerlegs,” or right to the point like John Thurman in Pioneering Projects, the sheer lashing is “used for lashing together two parallel spars which will be opened out of the parallel to form sheer legs.”

What are sheer legs? Simply put: sheer legs are two upright spars lashed together at the tips with the butt ends splayed apart to support some kind of weight. Most always, in Scout Pioneering we use sheer legs to form an A-Frame.

Ambiguous? Yes. Let’s start with ambiguous spelling! Most modern references to the lashing spell it s-h-e-a-r. Yet, the much respected and revered John Thurman was emphatic that the correct spelling was s-h-e-e-r!

Terminology. In John Sweet’s book, sheer lashing has two different forms each with the same name. When two spars are lashed together for strength, or lap-jointed to extend their length a sheer lashing is used BUT with the clove hitches tied around both spars and without any frapping turns. He still calls it a sheer lashing, but of course this is commonly known as a round lashing!  John Thurman refers to a true round lashing as the Sheer Lashing Mark II and the lashing used to make sheer legs as the Sheer Lashing Mark I.

Let’s take this opportunity to further clarify two lashing designations that keep popping up. A SHEAR Lashing is used to make shear legs. A ROUND Lashing is used to attach one pole to another in the same direction as in extending the overall length of shorter poles. (It can also be used to bind more than one pole together to make a stronger pole.) SHEAR Lashings incorporate frapping turns. ROUND Lashings do not! Along these lines, the West Country Shear Lashing should be called the West Country Round Lashing, and rightfully so!

Nowhere is this stated more clearly than in Gerald Finley’s book, Rope Works: “West Country Round Lashing is also called West Country Shear Lashing, but this name contributes to the confusion caused by lumping shear and round lashings together. West Country Round Lashing is used to form a rigid joint between two parallel poles; it does not form the flexible joint of a shear lashing and it has no frapping turns.”

Two-Spar Shear Lashing. To add to the possible confusion, Adolph Peschke calls what John Thurman refers to as the Sheer Lashing Mark I (which is in actuality THE shear lashing) the Two-Spar Shear Lashing. This name can also be related to the tying of a Tripod Lashing With Plain Turns, wherein the procedure is exactly like the Two-Spar Shear Lashing but with three spars. It follows that it’s easy to dub this tried and true form of tripod lashing (just like the Two-Spar Shear Lashing) the THREE-Spar Shear Lashing. The Two-Spar Shear Lashing is used to make an A-Frame, and the Three- Spar Shear Lashing is used to make a simple tripod.

Ambiguity in Tying the Lashing. Though the formation is the same: clove hitch around one spar, six to eight wraps, two fraps, finish with clove hitch around one spar, there are varied approaches to actually tying the shear lashing. These discrepancies all hinge on… the hinge. (Pun intended.) The spars have to pivot in order to spread out the desired distance. How can this be accomplished so the lashing is tight but not so tight that when spreading the legs into position, the legs and lashing rope resist the strain to the point that something breaks? The tighter the wraps, and the more wrapping turns you take, the stiffer the lashing will be.

  1. One view is to make the wraps and fraps on the loose side, concluding they’ll tighten when the legs are spread.
  2. Another view is to place a small block of wood between the spars to yield adequate room for the frapping turns.
  3. Another view is to make the wraps moderately tight and then before frapping, spread the legs a bit to allow room for the frapping turns, being careful not to close the spars on the lasher’s fingers!
  4. Finally, another view is to complete the wraps, then spread the legs to the desired width, and then take tight frapping turns.

Whatever works well will also depend on the diameter of the spars, how straight they are, and indeed on the structure itself.

Open out the Timbers. NOTE: Two shear lashings without frappings and with a clove hitch around both timbers are used to lash two timbers into one long one.
The NOTE is a perfect description of what is termed the “Round Lashing!”

Smaller Double Tripod Chippewa Kitchen

Lashing on one of the Front Tripod Braces for a 6’ Double Tripod Chippewa Kitchen and Adding the Platform Support Spars.
A Smaller Double Tripod Chippewa Kitchen for a Single Patrol

Basically, this is a mini version of the full-sized Double Tripod Chippewa Kitchen. Same procedure, just scaled down, and a perfect fit for one patrol.  The only things different here are the dimensions:

  • two 6-foot x 2-1/2 to 3-inch platform support spars
  • six 6-foot x 2-inch tripod leg spars
  • four 4-foot x 2-inch rear tripod braces
  • two 4-foot x 2-1/2 to 3-inch front tripod braces (to support the platform support spars)
  • fifteen to twenty 3-foot x 2-inch floor spars (depending on the size of the cooking surface required)
  • sixteen 15-foot x 1/4-inch manila lashing ropes for square lashings (12-1/2′ lashing ropes work well if you have them.)
  • two 20-foot x 1/4-inch manila lashing ropes for tripod lashings
  • binder twine for floor lashing
  • piece(s) of burlap or canvas to cover cooking platform (unless you’re using clay)
It's obvious the patrol is ready to foil cook their lunches before the coals are ready!
It’s obvious the patrol is ready to foil cook their lunches before the coals are ready!

Note: When lashing on the tripod braces, position the two rear ones as low as possible. This way the thicker front one can be lashed on unencumbered, and also placed at the right height. When it comes to adding the two platform support spars you have a choice: lash them both on either the outside or on the inside of the front (outer) tripod legs. In these photos, they’re lashed on the inside.

For complete details, refer to the procedure outlined on the full Chippewa Kitchen post.

Pioneering and the Order of the Arrow

Chicora Chapter Pioneering Crew, Santee Lodge 116, Order of the Arrow

This section is about Pioneering and the Order of the Arrow. The OA is unique to the BSA, but for those readers from other countries, its correlation with Pioneering can apply to all Scouting groups seeking to render cheerful service and promote camping.

It’s been seen time and again, Scouts are impressed by well-built, pioneering structures. Tall gateways, strong bridges, or clever camp gadgets are found to be especially exciting when experienced outdoors during a Scout gathering. The attraction is even more pronounced in those Scouts who would love to have the chance to get involved firsthand in the challenge and fun, but frequently don’t possess the various skills or have the opportunities to build more involved or larger pioneering structures.

A member of Santee Lodge, 116, Order of the Arrow, helps Webelos Scouts cross the monkey bridge his chapter built during a District "Webeloree."
An Arowman helps Webelos Scouts cross the monkey bridge his chapter built during a District “Webeloree.”

So, what’s all this have to do with the Order of the Arrow? First and foremost, Pioneering aside, Scouts who are members of the OA should be seen as exemplifying the Scout Oath and Law in their daily lives. But, as the BSA’s national honor society, a very favorable impact is created when a specially-trained chapter or lodge pioneering crew can demonstrate they know how to accomplish some “bigger” things. They can build them! Then, as a celebration of Scouting, they can help others to enjoy what they’ve built! It’s a worthwhile opportunity to cheerfully serve their fellow Scouts, promote camping, and also contribute to the overall value of a district or council event. The resulting impact definitely serves to impress their fellow Scouts who will naturally hold the Order of the Arrow in an even higher regard.