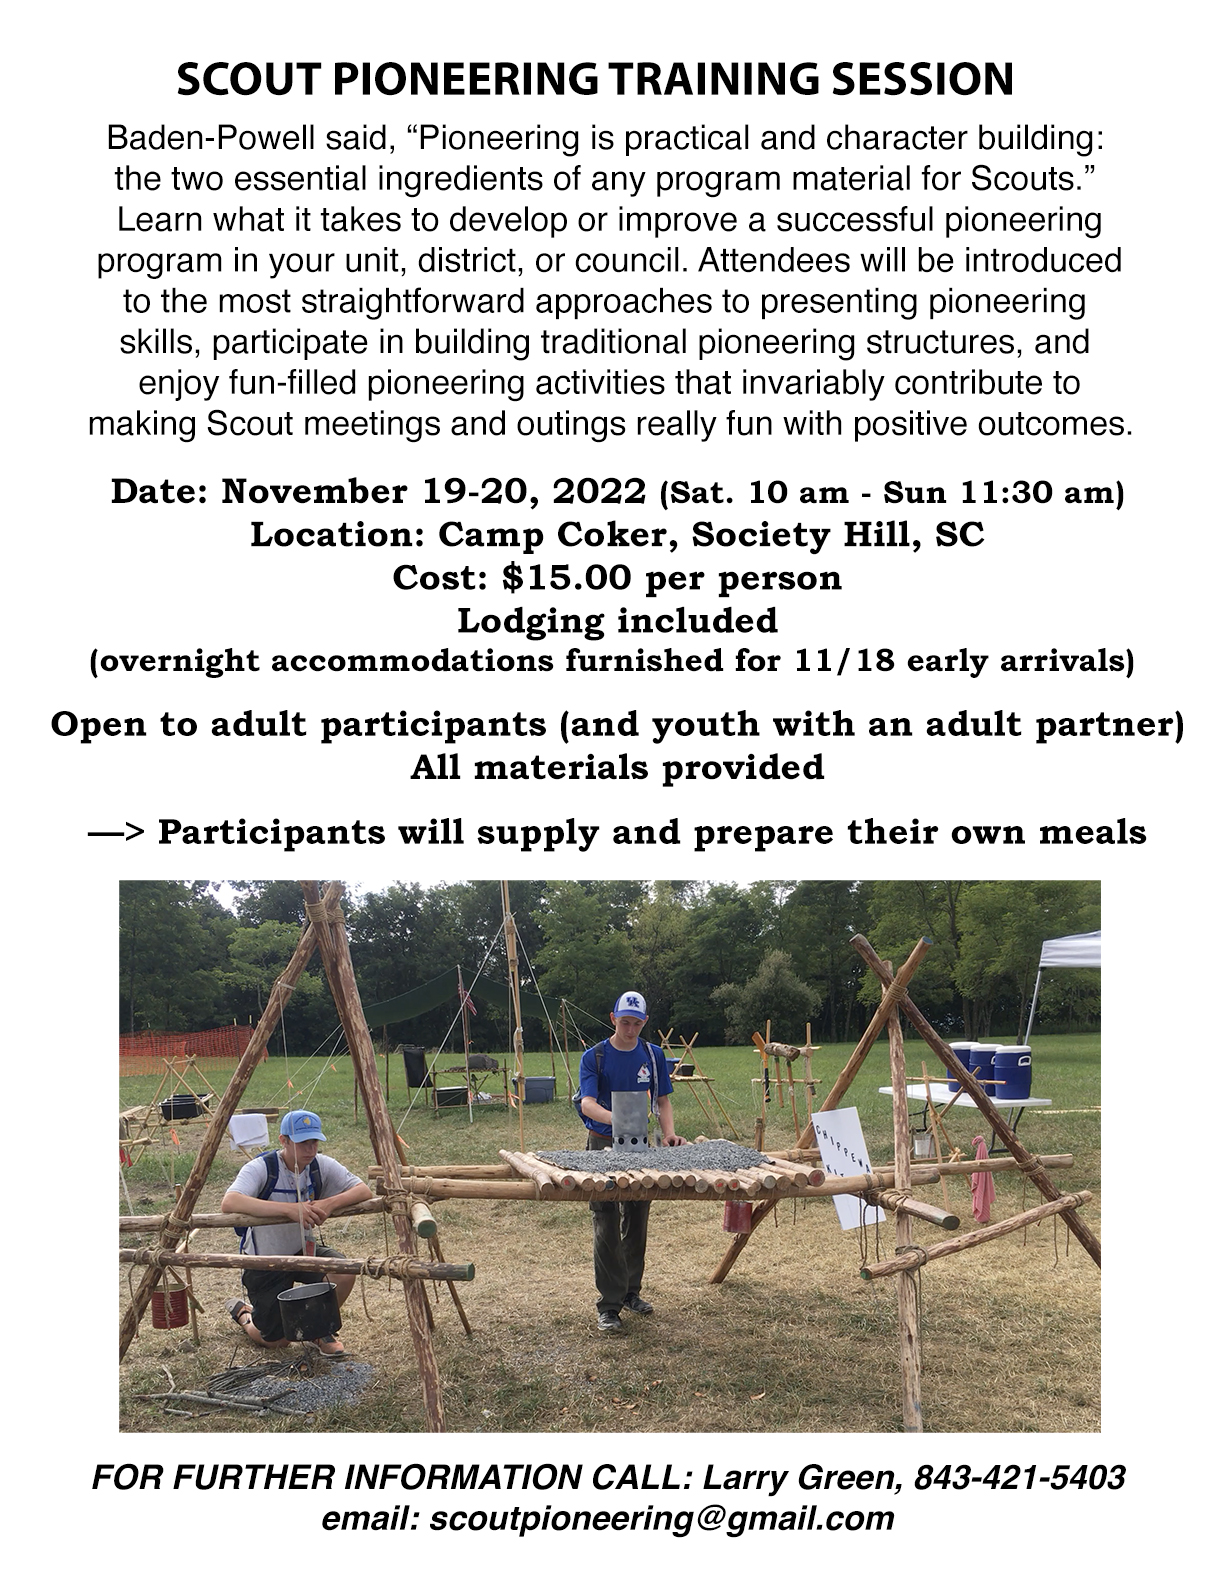
First All Scout-Pioneering Training Session (2022)


Not too long ago, a small, new troop made up of first year Scouts was given permission to meet on some privately owned land that afforded a variety of neat ways to learn and have fun. Up a hill in the central area there was a covered pavilion with picnic tables and a pit for building a cooking fire. Below, there was an extensive grassy area for troop wide games. On the edge of this field was a forest with a dried out stream bed forming a rough, narrow path to the Intracoastal Waterway. The distance between the field and the shore of the Waterway translated into a good, little hike through the forest—not overly challenging, but not too easy, either. It was arranged for the troop to get together on this land for a few hours on a Saturday, for a short, mid afternoon / early evening outing.
After they arrived, everybody assembled under the pavilion, and the young senior patrol leader revealed what was in store. As each of the following activities unfolded, one by one, each would combine with the others forming an overall, memorable, outdoor experience.
Here’s how the outing went. First was a hike. Single file, accompanied by two assistant Scoutmasters, the Scouts made their way through the forest along the rugged trail to the Waterway. When they reached the end, they dug up some smooth, grey clay from deposits that were prevalent along the shore. As they dug, they put what they excavated into some plastic garbage bags. When they had a good amount, it was time for a return hike back to the pavilion.
Once back at camp, the bags containing the clay were placed on a picnic table, and each member of the small troop went about gathering some fire wood. A good-sized fire was lit, and while the wood burnt down to hot coals, everyone got a portion of clay. In order to illustrate what each Scout would be modeling, an assistant Scoutmaster fashioned a sample pinch pot. With eager smiles, each young Scout set out forming their own small pot. After ten minutes or so, they placed their pots along the edges of the pit near the fire, which by this time had burnt down considerably and was already yielding a sizable heap of hardwood coals. After another five minutes, each Scout took a turn placing their little pot carefully into the hot coals to start baking.
Eventually, all the pots were nestled deep inside the fire pit, buried in the glowing coals. As the pots started to to bake, the Scouts went down the hill into the field and played Flying Disc Soccer. The Scoutmaster and his assistants stayed under the pavilion and monitored the fire. A half an hour passed and the Scouts returned. The senior patrol leader had instructed them to each find a suitable hot dog stick which were acquired from nearby bushes.
A new layer of kindling was placed over the coals. All the while, the pots remained hidden, buried deep in the coals, completely out of sight. Cans of beans were opened. With the tops still attached and bent up to serve as a holder, they were positioned around the fire to get hot. Throughout all this, the Scouts were busy, happily whittling the tips of their sticks so each could serve as a skewer to stick through a hotdog from end to end. Soon the fire started to flame and the troop members proceeded to surround the pit with their hotdogs. As the hotdogs roasted over the flames, some Scouts were assigned to carefully stir the beans. Soon everyone was sitting around the table, eating hotdogs and beans, chatting and telling jokes. Silently, the invisible pots continued to bake.
Eating done, everyone deposited used paper plates, cups, and plastic spoons into a trash bag to be carried out. The fire had pretty much completely died down, and the moment had arrived to uncover the pots. Attention turned to the fire pit as the senior patrol leader, using a pair of tongs, began to fish around the ashes. Each time the tongs touched something hard, a little, ashen pot was gently lifted out and placed on the table, accompanied by voices in hushed tones commenting, “that one’s mine.” Indeed they all were recognizable, each with its own distinct shape and character—each small prize cooling in a row on the picnic table.
A couple of Scouts were assigned to sprinkle water over the ashes in the pit, stirring them until the fire was cold out. The pavilion was policed to assure nothing was left behind, and belongings were all gathered up including the precious, fire-hardened pots.
—> This is Comprehensive Programming! The afternoon consisted of a series of experiences, all woven together into an attractive tapestry of well-paced discovery and fun. Scouting is filled with numerous opportunities to present an array of memorable experiences that expose Scouts to new circumstances and broaden their horizons. There are a wealth of camping areas and Scouting destinations, each providing a wide scope of program possibilities. But, in between summer camps, themed campgrounds, and high adventure bases, in order to assure the week-to-week Scouting program is unforgettably fun, any additional expenditure of time and energy devoted to planning and preparation is well worth the extra effort.
Sample Gathering Period with Enhancements
It was dark outside. Scouts were divided into groups of four, given a flashlight, two sheets of paper containing letters a through z, numbers 0 through 9, and the corresponding morse code dots and dashes for each letter and numeral, a pencil, a paper with a series of dots and dashes forming a unique message, and a compass. Each foursome was then directed to split into pairs, one to use the flashlight to send the message, and the other, from a distance away, to receive the message, write it down, and decipher the code.
When the message was thus received and decoded, it revealed a degree bearing along with a number of paces to take. It might read something like: “Follow a bearing of 60 degrees for 20 paces.” The pairs would then join together and using the compass, face the bearing and pace off the prescribed distance. When they did this accurately, to their delight they happened upon a bag containing eight pieces of candy.
Just sending and receiving the message would make an effective preopening gathering period. It would be involving, challenging, and along with an entertaining message, could in and of itself be fun. What made this kind of activity an example of comprehensive programming was the extra twist supplied by having the message serve as a directive, which provided an added challenge, and culminated with an unexpected reward. The use of the compass and the action of pacing a distance added an additional layer of impact, and the bag of candy enjoyably served as icing on the cake.
Sample Scout Meeting Activity with Fringe Benefits
A workable activity to reinforce a patrol’s ability to set up a dishwashing assembly line can be featured during a troop meeting, especially if the patrol(s) aren’t familiar with the procedure, or maybe could just use some practice. For a typical front-country camping trip, the materials for this operation can consist of a receptacle, like a small trash bag, in which food scraps and goop can be deposited, a goop scraper, a 4-quart pot containing warm water with a little soap, a dish washing brush, two 8-quart pots containing hot water, one for rinsing, and one with a sanitizing agent, hot pot tongs, and a plastic sheet. Also, there really should be something to wash, like a plastic bowl for each patrol member.
The patrol(s) can simply demonstrate their familiarity with this form of dishwashing, by racing to properly set out the materials, wash the bowls and then place each on the plastic sheet to dry. As a competition, this actually could even be fun. But, with the addition of an imaginative routine that assures the bowls will require washing, this mundane activity can be transformed into a uniquely comprehensive and entertaining experience. The following additional materials will be needed: a blindfold and spoon for each patrol member, and some ice cream.
First thing, Scouts buddy up. A bowl containing a scoop of ice cream is given to each pair, along with a blindfold and spoon. Scouts are instructed to lie down on the floor facing one another, to place the bowl of ice cream between themselves, to apply the blindfold, and then to take turns feeding each other using their spoons. This, of course serves as both a comical prelude to setting up the dishwashing assembly line, which no longer is a race, but has become an incidental byproduct of participating in an unexpected and delicious undertaking.
A Second Class Five Mile Hike made a Whole Lot More Fun
The troop’s traditional five mile map and compass hike was mostly along a country road, past large tracts of farmland. The midway point could be gauged at a crossroads with a mom and pop convenience store on one corner where the Scouts will make a pit stop. Further on, a large church signals the 3/4 mark where Scouts take a right turn heading west. Then, turning onto a dirt road leads the hikers to a wooded area which is the five mile mark where they will eventually be driven back to the starting point.
By putting some extra features to the map, making plans that add a little unexpected fun, and having the Scouts bring along something they can heat up for lunch, the hike can be transformed into a really fun outdoor experience.
With a little forethought, planning, and execution, the troop has turned a simple hike into a memorable, outdoor experience.
We are always provided with golden opportunities to gear up for memorable experiences in the present, and in an expansive and bright Scouting future.
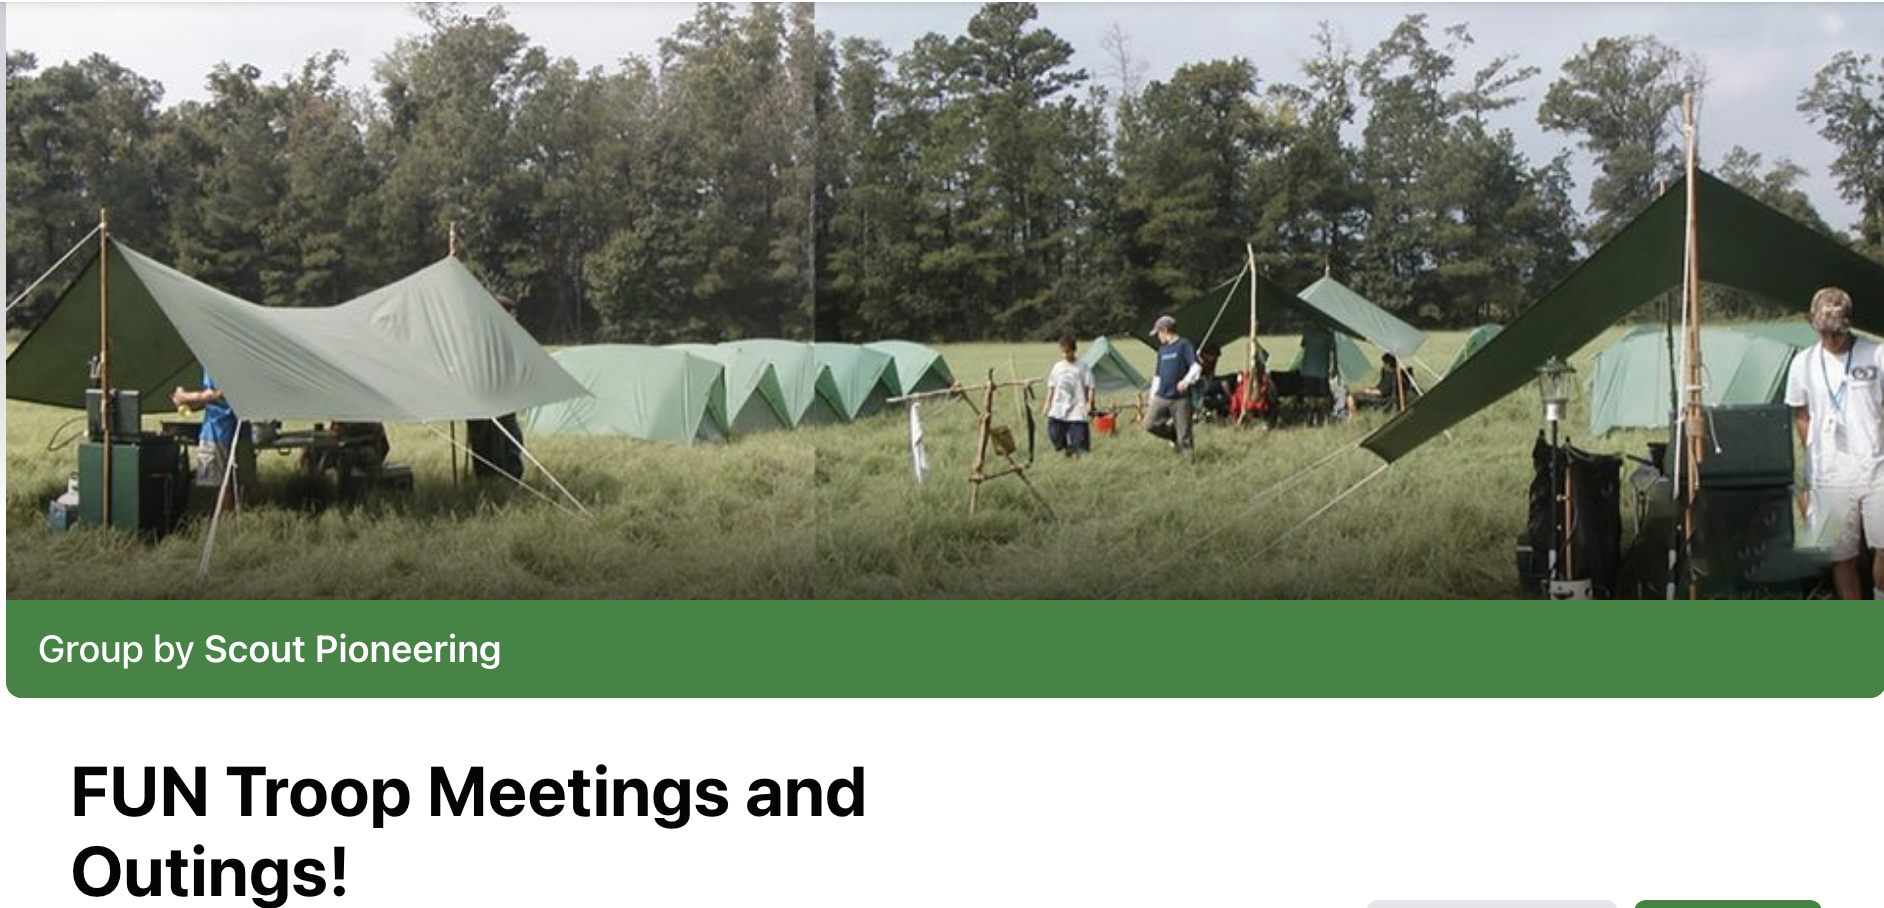
By sourcing specific BSA resources and shared Scout leader experiences, all of which have a proven track record for success, this group is designed to serve as a repository for great ideas resulting in really fun meetings and outings with positive outcomes.
The group’s aim is to compile a categorized resource library of useful activities, program approaches, and techniques that can be drawn upon by youth and adult Scout leaders to spark inspiration and aid in delivering the promise of Scouting throughout our movement in the years to come.
Click HERE to join the Facebook Group:
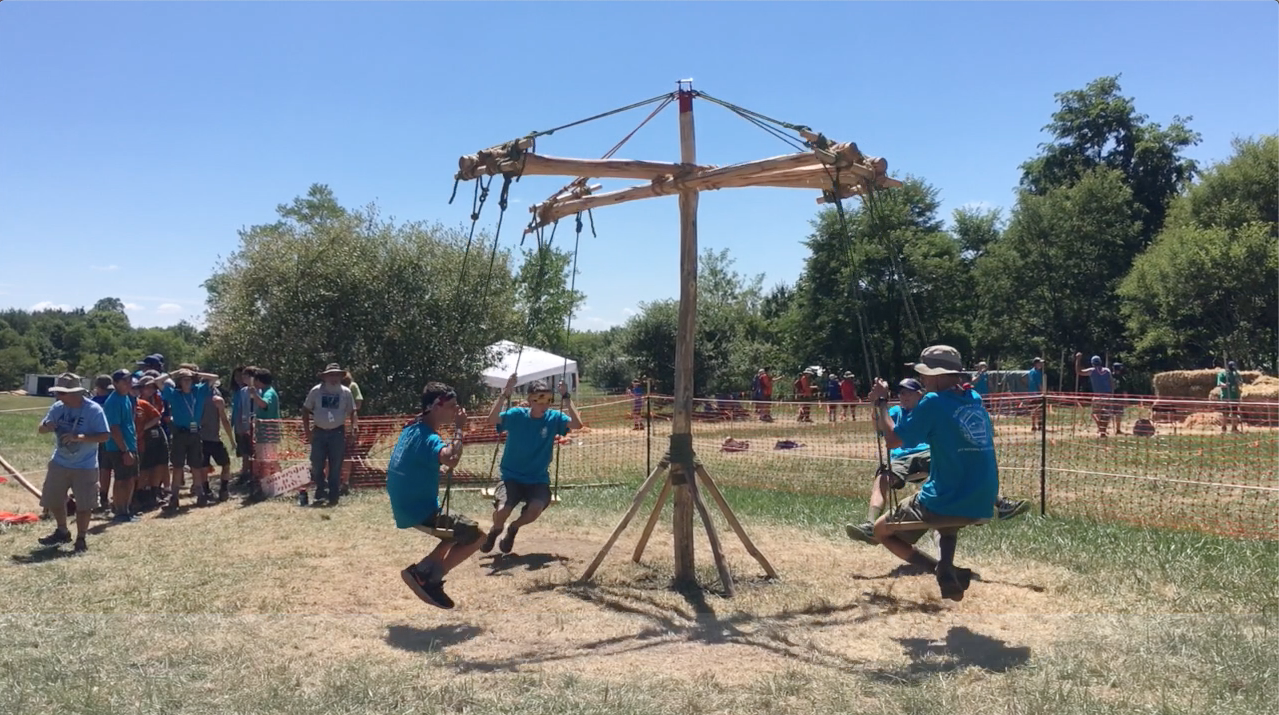
Suggested Materials
Set the parameters. Lay the four lateral spars on the ground in a square where you want to position the Atomic Pile. Overlap the ends about 4″ so there will be room to lash them to the corner uprights. Drive a small stake into the ground on the inside of where the ends intersect. This is where the holes for the corner spars need to be dug.
Prepare the corner spars. Using a post hole digger, dig the holes about two feet into the ground at the spots marked by the four small stakes. Make sure the holes are the same depth so the tips of the spars come up to the same height. Before actually placing the corner uprights into their holes, attach the pulley to each with the 40′ cord reeved through. Tie the inside end of each cord to eye hook of the log using a Roundturn With Two Half Hitches.
Attach the “boundary poles.” After placing each upright into its hole, with the pulleys facing the center of the square, and firmly tamping them in for solid support, tightly lash on the four lateral support spars about belly high.

As the Story Goes: Members of the Enterprise’s fact-finding contingent consisting of Mr. Spock, Dr. McCoy, Lt. Sulu, and two members of security beamed down into what appeared to be a remote, forested area of a faraway planet in a newly charted solar system. The first thing they noticed was how frigid it was on the planet’s surface. Already starting to shiver, a security guard proceeded to zap a large rock with his phaser. This, of course would heat the rock to the point it would emit a stream of warming rays that would effectively counteract the cold. Unfortunately, the phaser seemed to be inoperable, as was that of the other security guard’s. To their dismay, for some inexplicable reason, none of their high tech equipment seemed to work on this planet—not their phasers, their tricorders, not even their communicators. What were they to do. How could they avoid freezing to death?
“Mr. Spock!” McCoy exclaimed with alarm in his voice, “What can we do?”
Spock looked around, and then thoughtfully replied, “You might remember, Doctor, at Star Fleet Academy, we were taught how to make something called fire by friction. Well it certainly appears that we’re in a forest that possesses a wealth of likely tools and materials to make, as I recall, what is referred to as a bow and drill.”
The members of the fact-finding contingent proceeded to very quickly gather up all they’d need, fashion a bow and drill, and use it to produce an ember and start a fire. And, because in addition to learning how to operate the latest, high tech devices, they were also taught how to use primitive, outdoor skills, these shivering space travelers were able to get warm, even on a freezing planet without their futuristic gadgets.
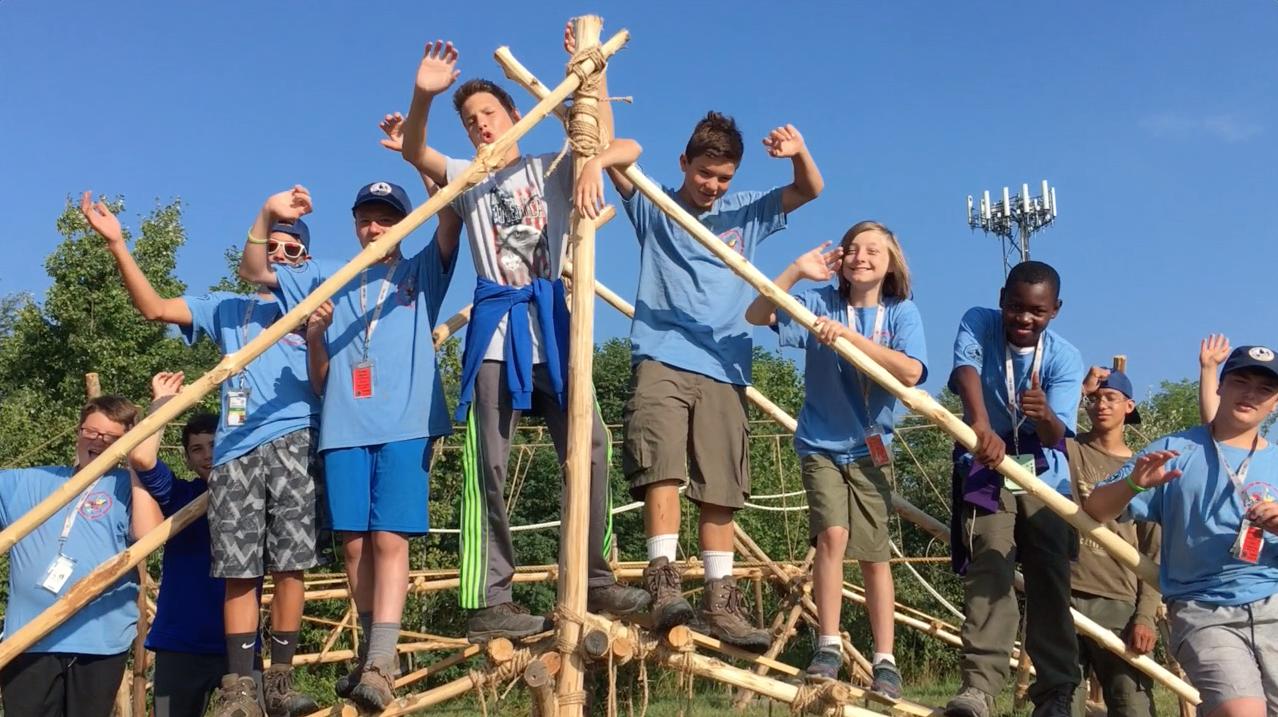
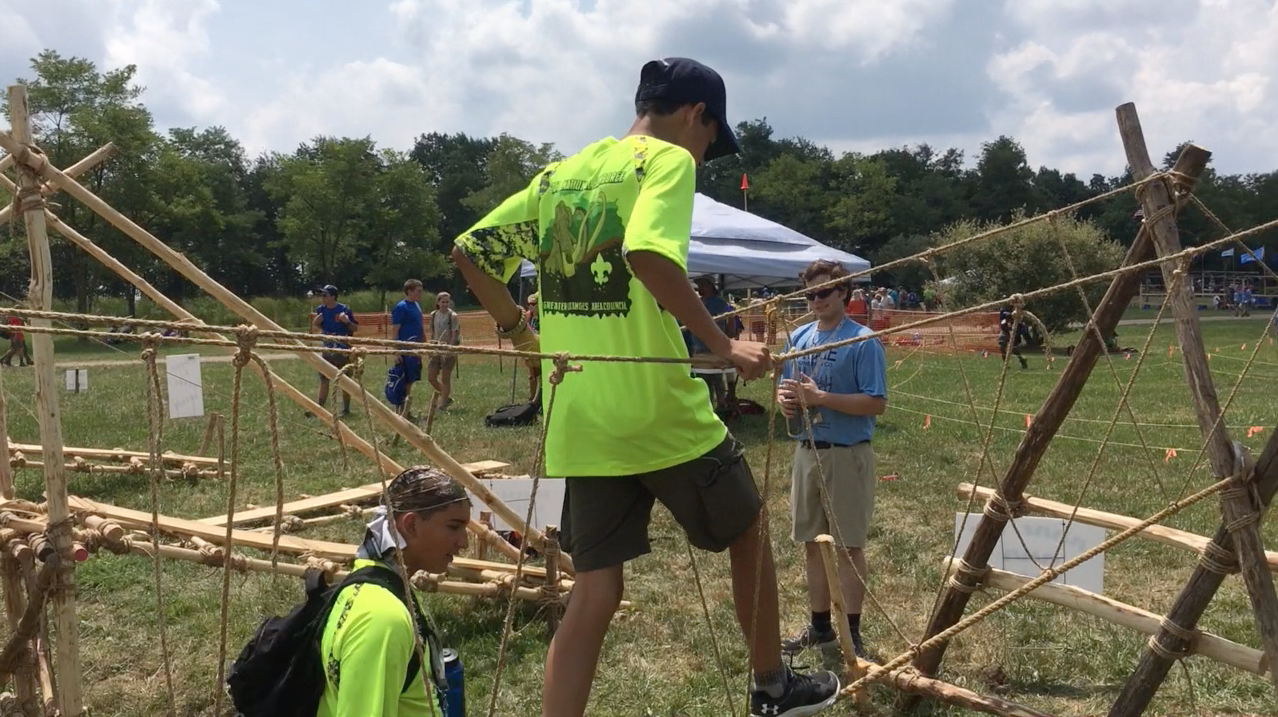
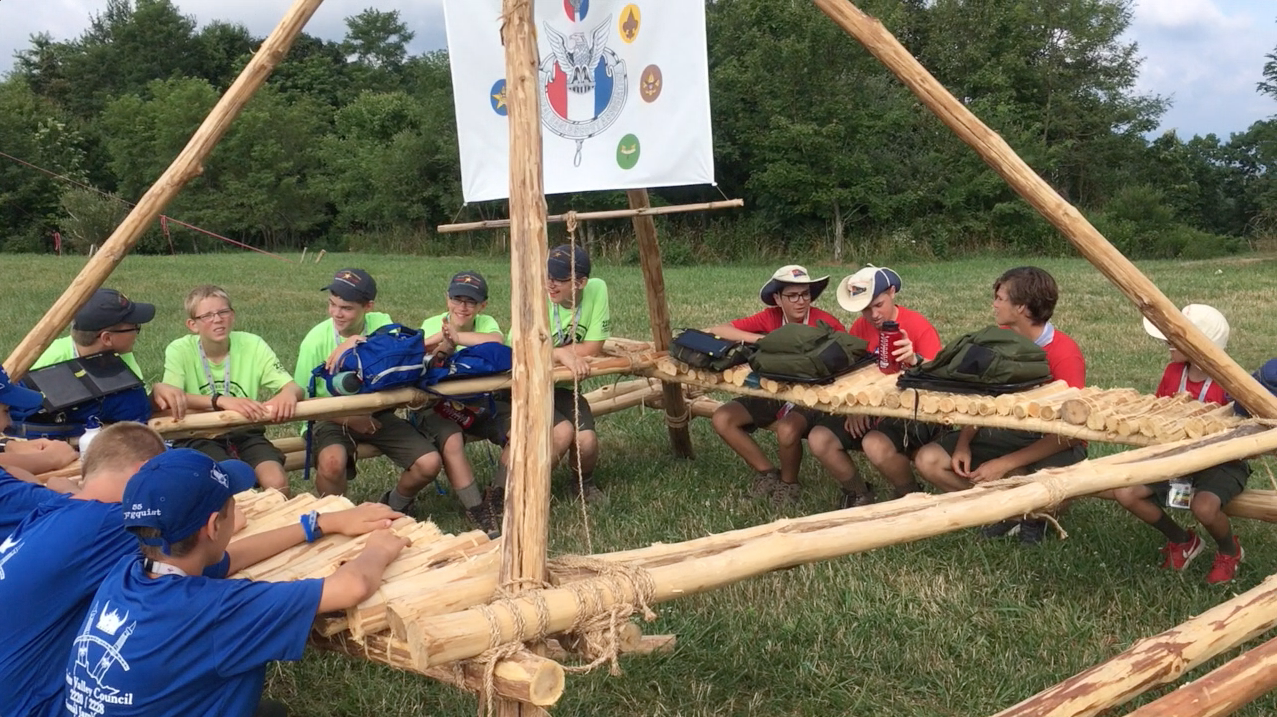
Scouting features a wide array of challenges, activities, and avenues of discovery. In such a multifaceted program there are opportunities to learn about subjects as diverse as on one hand: rocketry and robotics and on the other hand: wilderness survival and pioneering. Scouting is both the new and the old, the modern and the traditional, the innovative and the timeless!
The camp staff placed a supply of materials in an open area by the lake assigned as the designated raft building place. Groups of Scouts could use any of the materials there to create whatever kind of raft they chose. On hand were lengths of precut bamboo, plastic 55 gallon drums, and lengths of old manila rope. There was no set raft building schedule, so Scouts could devote as much of their free time as they wanted. The only definition regarding time factor was that of the race itself, scheduled for Friday at 3:00 p.m.
This raft building venture revealed a consideration that was not so obvious for many who participated, either in an advisory capacity or as a builder — a little something called “center off gravity”. As soon as many of the rafts were launched, this not so obvious consideration quickly reared its head, to the shock and surprise of the riders and to the delight of many observers. As soon as the race began, some of the rafts that looked like they’d do just fine performed a 180º flip over. By lashing on their drums directly under the bamboo, without taking into consideration the need to provide some form of counter balance, many of the Scouts had created a center of gravity that was too high, and this resulted in an unexpected and immediate dunking. All in all, it was a great race! And, after the race, I happened to overhear a wet group of Scouts remark, “That was fun. We gotta do that again!” Experience is the best teacher.
CLICK ON EACH PHOTO FOR A LARGER VIEW:


Outdoor skills aren’t just for the monthly campout. There are plenty of ways your Scouts can hone their outdoor skills on a regular basis, like during unit meetings.
Here is this week’s tip that the BSA’s national camping subcommittee shared with us. Special thanks to Larry Green for the tips and text below. For previous camp hacks and tips from the subcommittee, click here.
Once Scouts can demonstrate an acquired skill, they should be given opportunities to do something fun with it that provides a challenge that illustrates how the skill is used, and an opportunity requiring them to rely upon the skill in order to complete the task.
When properly planned, well-prepared, and effectively presented, these kinds of engaging activities contribute greatly to making a Scout meeting fun with positive outcomes.
Putting skills into action keeps Scouts involved, requires them to use teamwork, and provides the grounds for experiencing success. Bringing skills to life during a troop meeting in a manner that nearly simulates the way they’re used in the field, is always a good way to reinforce what Scouts learn, while honing their skills to keep them sharp.
Here are some fun activities and games your Scouts can do while incorporating skills they’ve learned:
For more team-building activities and skills challenges, click here.
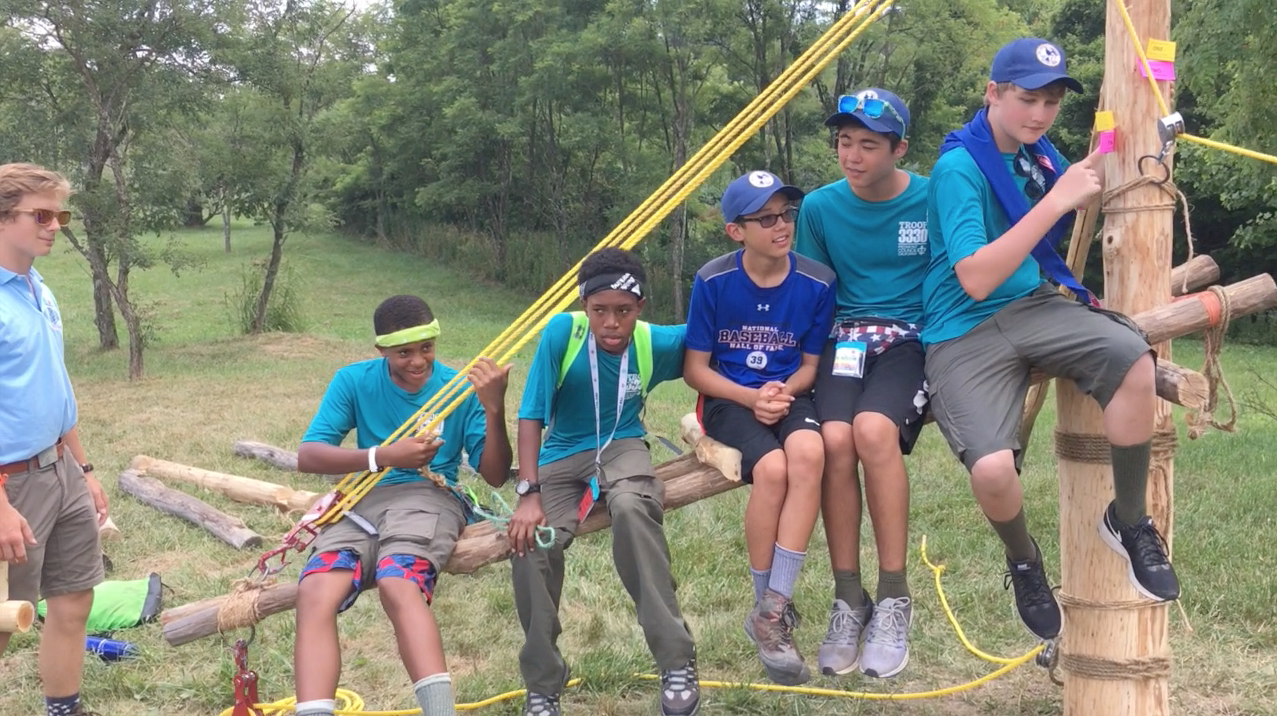
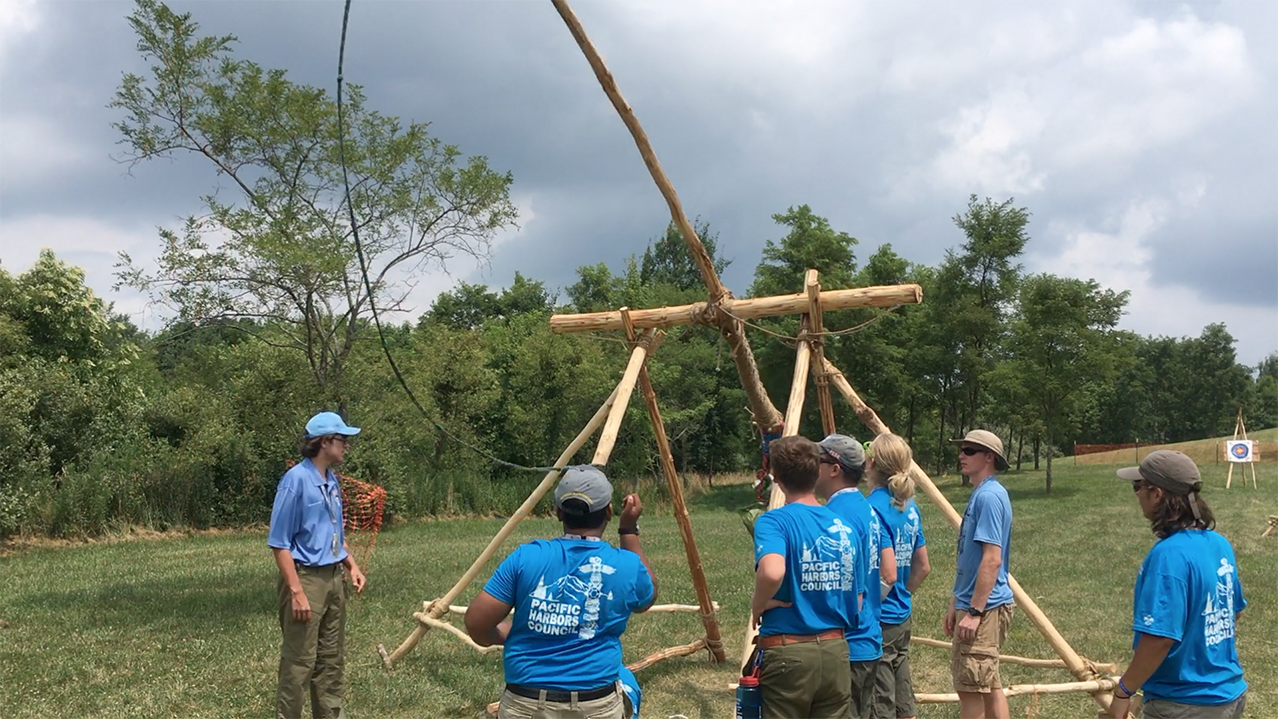
 Scouting founder Robert Baden-Powell believed every Scout should know how to build bridges. From designing the structure to gathering materials and putting it all together, bridge construction combines technology, teamwork and enthusiasm to complete a span that is memorable and useful.
A bridge on a hiking trail can be as simple as a log across a narrow gap. A more serious one relies on sturdier materials like rope and poles. A rope bridge Baden-Powell described in his 1908 manual, Scouting for Boys, is what today’s Scouts would call a monkey bridge.
This is a classic pioneering project, and a variety of styles and instructions have been shared many times, from a 1965 Boys’ Life article penned by Scouting leader and author William “Green Bar Bill” Hillcourt to various editions of the Pioneering merit badge pamphlet.
If Scouts don’t have a stream or small gully to cross, they can build the bridge in a meadow or backyard. Follow safety rules, ensuring the foot rope is no higher than 6 feet off the ground and no longer than 25 feet between A-frames. Using a 50-foot rope, the maximum span between A-frames should be 20 feet, with the extra length being used for anchoring the bridge.
Before building any pioneering structure, it’s necessary to first acquire the wherewithal to experience success. The skills, along with the lashing ropes and poles required to build a monkey bridge using double A-frames for better stability, can be used time and again, for a variety of pioneering projects and troop meeting activities. Here’s how to build a monkey bridge.

1. Begin by building four identical A-frames with the 8-foot and 6-foot spars. Make sure the A-frames are all uniform in size when lashed together. Lash them together with three tight square lashings. You could also use shear lashings at the top of the A-frames.

2. Once you have four identical A-frames, it’s time to make two pairs of double A-frames. Stand up two A-frames so they overlap each other one-half their length (about 3 feet). Join the legs together where they intersect with a tight square lashing. Finally, lash the two 6-foot bottom ledgers together where they overlap with three tight round lashings. Do the same for the other double A-frame.

3. Drive the pioneering stakes into the ground first with three stakes together, then two, and then one. Use loops of binder twine and a small stick in between each set to form a tourniquet. Both 3-2-1 anchors should be installed about 10 feet from where the A-frames will be erected. Place a rope grommet around the front stakes, before applying the tourniquet joining the three front stakes to the middle two.
4. Position the double A-frames no more than 20 feet apart from each other. Lay the foot and hand ropes alongside the A-frames. Attach the stringer ropes to a hand rope with a clove hitch at 3- to 4-foot intervals along the hand rope. Make roundturns around the foot rope and tie the running ends of the stringer ropes to the other hand rope with a clove hitch.
5. Make two saddles by folding pieces of burlap, placing one above the square lashings in the middle of the double A-frames where they intersect. This is where the foot rope will rest.
6. With the double A-frames held in place on each side, place the foot rope over the saddles, and tie the hand ropes to the top of the A-frames with clove hitches on a bight.
7. About halfway between the anchor and the A-frames, tie a butterfly knot in the foot rope to form a fixed loop for a rope tackle (trucker’s hitch). With Scouts still holding the double A-frames in position, use the rope tackles to put strain on the foot rope. Next, pull the hand ropes tight and attach them to the anchors using rope tackle or roundturns with two half-hitches.
8. Once all the ropes are tightened, check the knots and lashings before crossing the bridge. Allow only one person on the bridge at a time.


Scouts can celebrate their bridge’s completion by crossing it and reflecting on how the project came together. What went well? What would they do differently next time? What roles did teamwork and leader-ship play in the project?
After it has served its purpose, the bridge can be dismantled: The ropes can be coiled and stored with the poles in a dry place, ready to bring out for the next pioneering project.
Helping Scouts realize they have the power to plan and construct big projects is a practical way to bridge the gap between the promise of Scouting adventure and fulfilling that promise in the field.
Robert Birkby is author of three editions of The Boy Scout Handbook, two editions of the BSA’s Fieldbook and the newest edition of the Conservation Handbook. Find him at robertbirkby.com
Special thanks to Larry Green
Outdoor skills aren’t just for the monthly campout. There are plenty of ways your Scouts can hone their outdoor skills on a regular basis, like during unit meetings.
Here is this week’s tip that the BSA’s national camping subcommittee shared with us. Special thanks to Larry Green for the tips and text below. For previous camp hacks and tips from the subcommittee, click here.
Once Scouts can demonstrate an acquired skill, they should be given opportunities to do something fun with it that provides a challenge that illustrates how the skill is used, and an opportunity requiring them to rely upon the skill in order to complete the task.
When properly planned, well-prepared, and effectively presented, these kinds of engaging activities contribute greatly to making a Scout meeting fun with positive outcomes.
Putting skills into action keeps Scouts involved, requires them to use teamwork, and provides the grounds for experiencing success. Bringing skills to life during a troop meeting in a manner that nearly simulates the way they’re used in the field, is always a good way to reinforce what Scouts learn, while honing their skills to keep them sharp.
Here are some fun activities and games your Scouts can do while incorporating skills they’ve learned:
For more team-building activities and skills challenges, click here.

A dining fly is one of the first structures you should put up at camp. But what if you’re in an area away from trees, how do you secure one?
For the next couple of weeks, we’ll be sharing some camp hacks that the BSA’s national camping subcommittee has shared with us. This week’s tip involves how to set up a dining fly. Special thanks to Larry Green for the tips and text below.
In the Camping merit badge pamphlet, under the “Managing Your Campsite” section, it reads, “Set up a dining fly first. That will provide shelter for food and you in case of rain, and will give a sense of where you will center most of your camp activities.”
It’s a regular practice that the dining fly is the first thing to go up and the last thing to come down. Here’s one simple way for a patrol to set up their fly when there are no trees for the ridge line.


Watch these videos for techniques and tips below.

Did you know a clove hitch is essentially two simple knots? When your Scout is tying lashings, all they need to know to create a clove hitch is how to tie a half-hitch.
For the next few weeks, we’ll be sharing some camp hacks that the BSA’s national camping subcommittee has shared with us. This week, we’re showing you how to tie a clove hitch, which is used to begin and end many lashings. Special thanks to Larry Green for the tips and text below.
John Thurman, the Camp Chief at Gilwell Park in England for more than 25 years, wrote, “The first and everlasting thing to remember about the clove hitch is that it is composed of two half-hitches.”


When a clove hitch is formed in this manner, snugging it right against the wraps to finish a lashing is easy.
Watch the video of this technique below.
As presented in Bryan on Scouting:

Tying a square knot might be confusing for Scouts. “Right-over-left” or was it “left-over-right?”
For the next few weeks, we’ll be sharing some camp hacks that the BSA’s national camping subcommittee has shared with us. This week’s tip involves a technique to tying a square knot correctly every time. Special thanks to Larry Green for the tips and text below.
The square knot, also known as the reef knot, is first and foremost a binding knot. Its primary function is to secure a line tightly up against an object as when tying a bandage, a package or the flaps of a wall tent at camp.
When it’s time to tie a square knot, there’s a surefire way to always tie it right, and all you need to do is use your eyes.


Tying a square knot from this visual perspective comes in handy, because often Scouts will lose track of whether they went over-under or under-over, or right-over-left or left-over-right. Once they get the knack of seeing how each end stays in its own “zone,” this approach is fool-proof.
Watch the video of this technique below.
As presented in Bryan on Scouting:

Whipping a rope can be a little tricky. If your Scout is struggling with the traditional method, you can teach them another way, called “West Country whipping.”
For the next few weeks, we’ll be sharing some camp hacks that the BSA’s national camping subcommittee has shared with us. This week’s tip involves an easier way to whip a rope. Special thanks to Larry Green for the tips and text below.
Preventing the ends of rope from fraying is a process referred to as “whipping.” Learning how to whip the ends of a rope is one of the early requirements on the Scouts BSA advancement trail.
Indeed, there are many approaches to whipping a rope, but the one that’s used for the hundreds of lashing ropes in the pioneering area at national jamborees, as well as the 2019 World Scout Jamboree, is known as the West Country Whipping. What’s so special about this whipping? The answer is simple. It’s easy to teach and easy to tie, and most importantly, it’s easy to make tight. Hence, Scouts learn it more quickly and like it much better.

 Watch the video of this technique below.