This small camp table can be comprised almost completely of Scout staves. It is 100% functional and provides a convenient raised surface for personal, patrol, or general use. It’s simple design makes it quick and easy to set up, and it is remarkably stable.
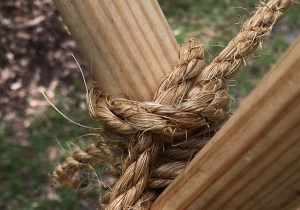
Make the table legs. Start by lashing together four Scout staves into two sets of shear legs with 6-foot manila lashing ropes. If you prefer, square lashings can be used instead of shear lashings. (In lieu of Scout staves, straight poles an inch or so in diameter are just fine.)
Lash on the table top supports. Next, with two square lashings, lash a 2-1/2-foot stick to connect each set of shear legs about 30 inches off the ground. (A Scout stave cut in two is ideal.) This will form two A-frames, one for each side of the table. Make sure each of these support sticks are lashed on straight and at the same distance from the bottom end of both sets of legs.
Securely hold up the A-frames. This is surely the best part. Find the midpoint of a 20-foot line. At about two feet away, tie a clove hitch at the top of one of the Scout staves of one of the A-frames. Repeat this process on the other side attaching the line with a clove hitch to one of the Scout staves of the other A-frame.
Secure each end of the 20-foot line to stakes driven into the ground on either side, about 5 feet away, so the line extends out evenly from each end of this table framework. You can use round turns with two half hitches, taut-line hitches, or rope tackles. Here’s the beauty of this configuration: you can manipulate the distance between the A-frames by adjusting the clove hitches, and provide optimum stability to the table by placing a good, reasonable strain on the line at each stake. It will stand up in an impressively rigid fashion.
Lash on the table top. Finally, lay 12 Scout staves, (or similar poles) side by side, on top of the 2-1/2-foot support sticks, and using binder twine, lash them on with floor lashings.
The Chippewa Kitchen can be seen as the indisputable KING of all “camp gadgets.” It’s the ultimate camp kitchen pioneering project, providing a huge element of convenience to a wide range of camp cooking operations. The Chippewa Kitchen can provide a raised surface for food preparation, a nifty place to hang tools and utensils, a framework from which a pot can be safely suspended over a cooking fire, and primarily, a convenient, raised cooking surface for cooking over hot coals.
There are all kinds of Chippewa Kitchens. They come in all sizes and shapes.
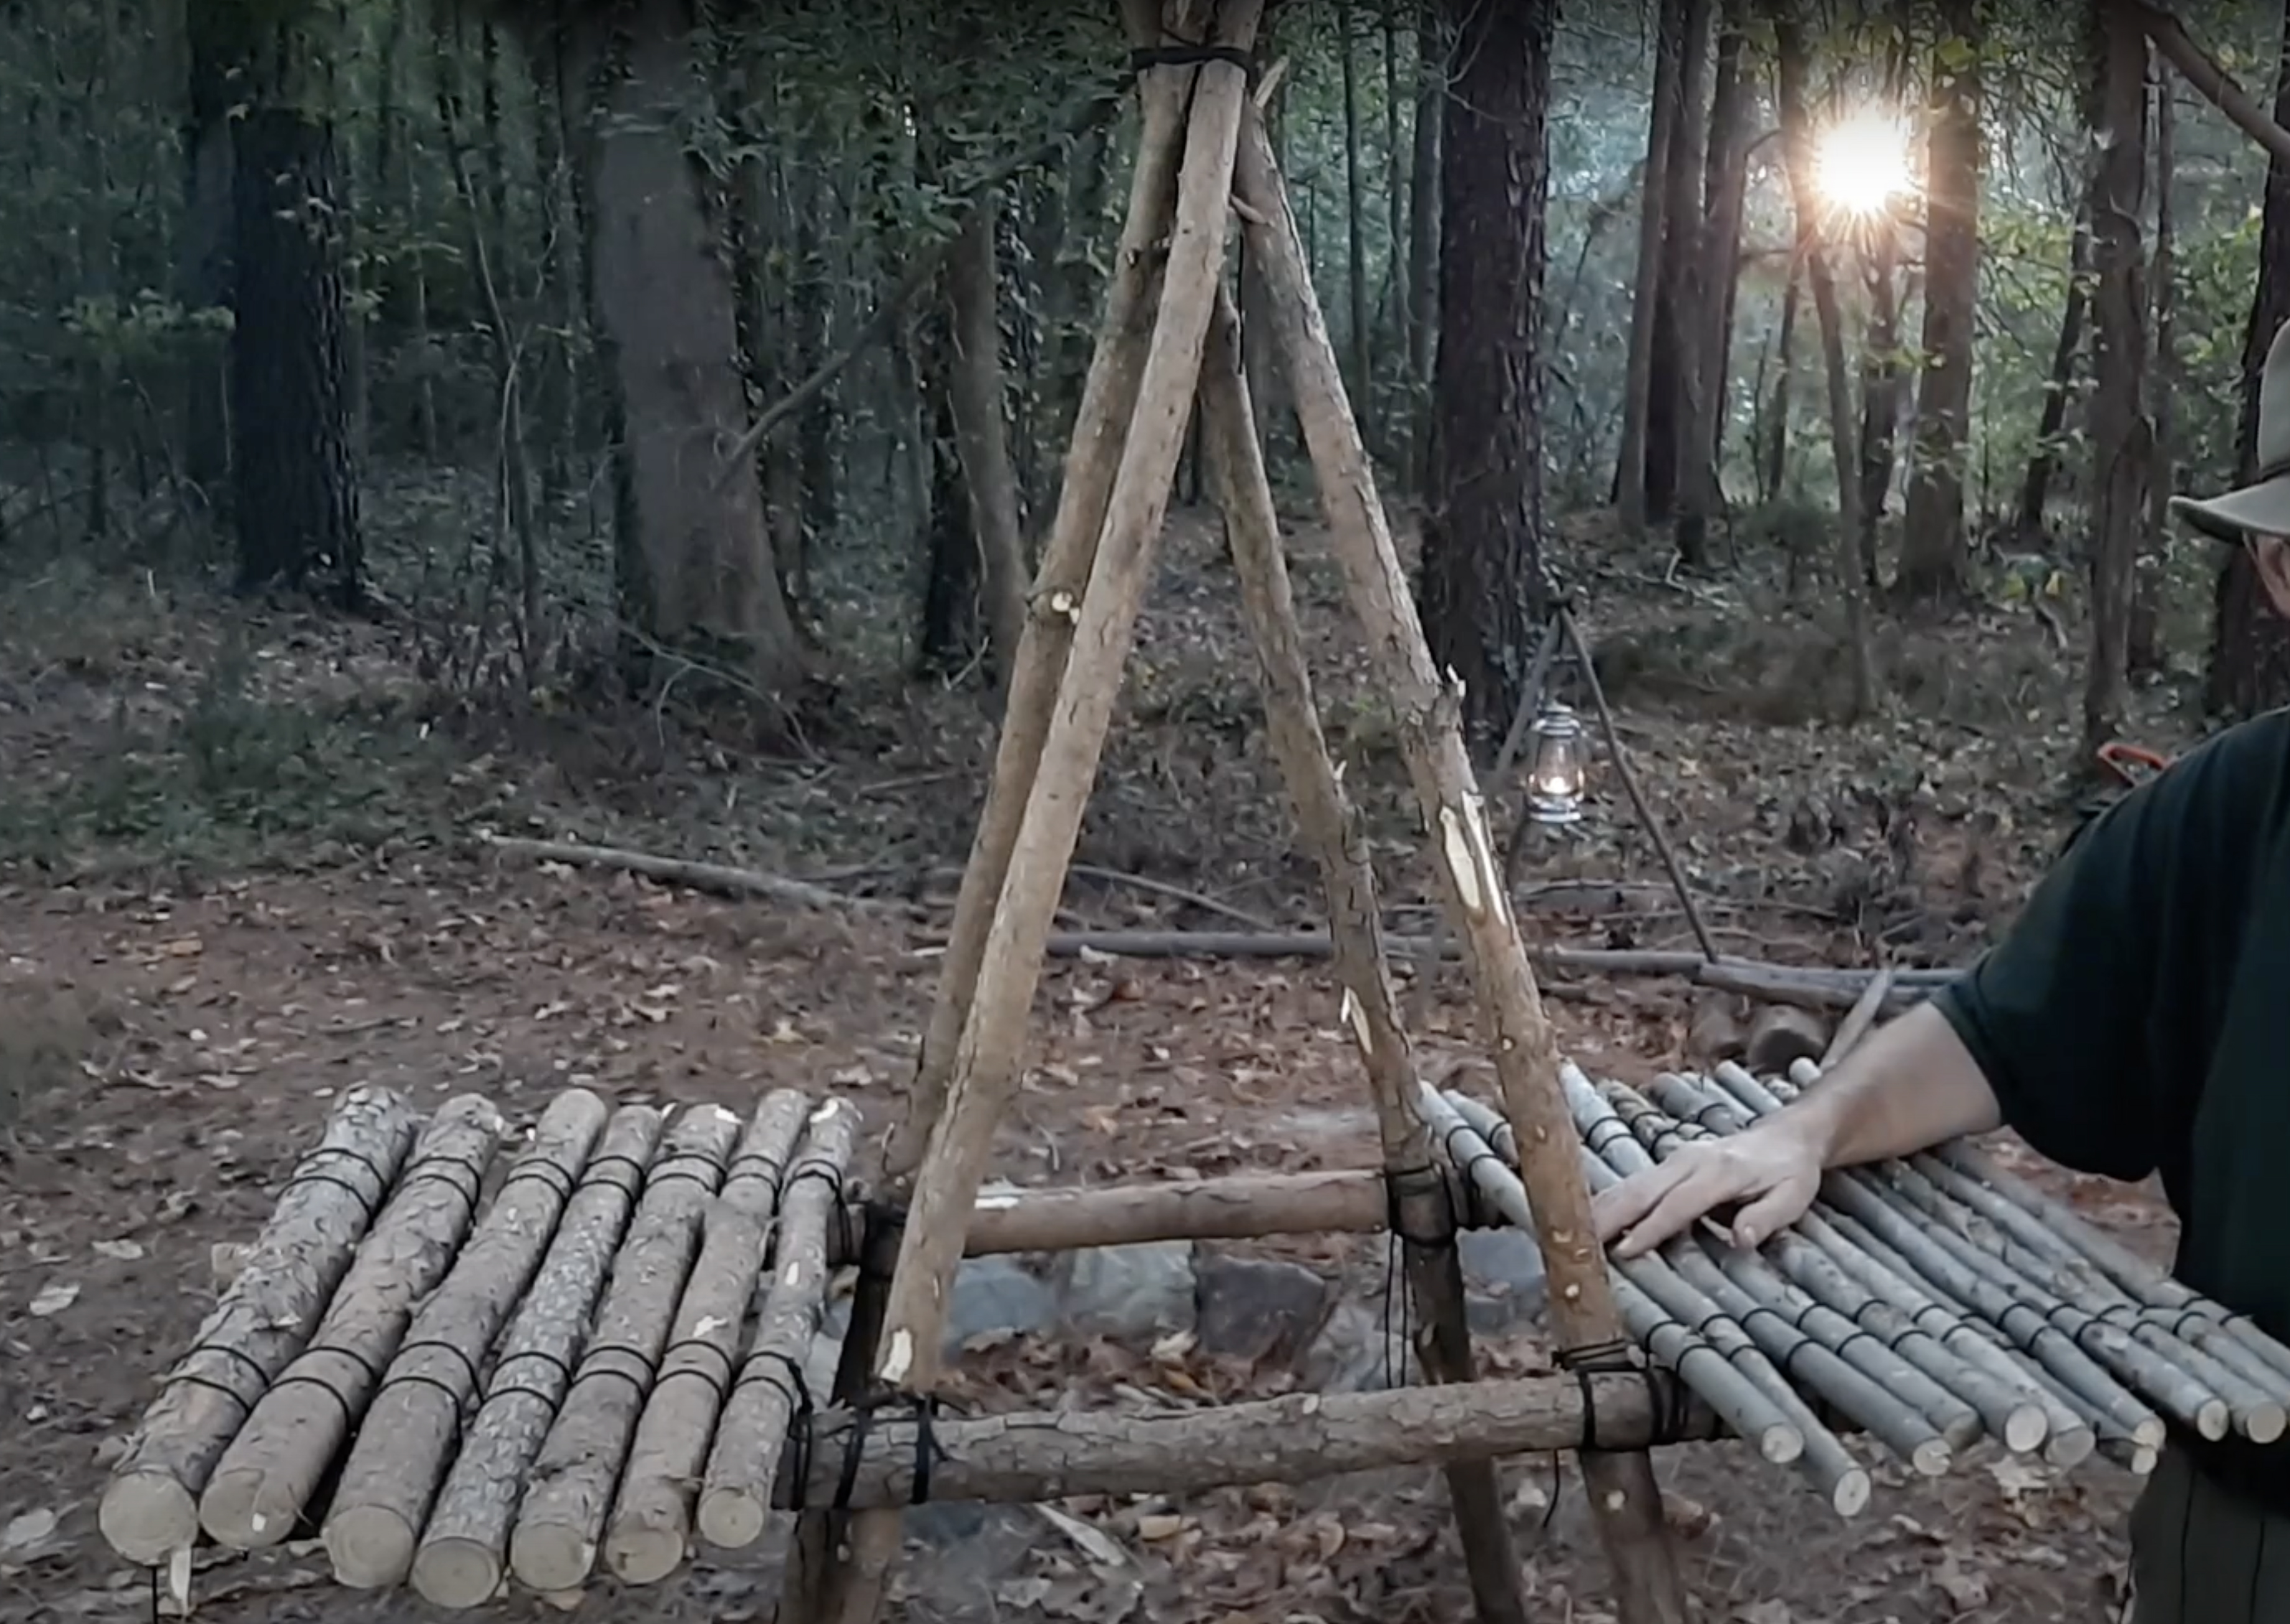
When our troop first started making Chippewa Kitchens, we built them with one 10-foot tripod, with one 6-foot crossbar, and two 8-foot crossbars each of those extending out so that a shelf could be constructed where we’d pour the coals and do the cooking. We’d tie a rope from the top of the tripod and hang an 8 qt. pot over a fire built on the ground in the middle between the three legs of the tripod. This always worked well, but with all the weight from the mineral soil, coals, food, and dutch ovens, it was a lot less stable. That design tended to make it difficult to keep the tripod from leaning and the crossbar extensions from shifting lower. DOUBLE TRIPOD CHIPPEWA KITCHEN. Our more recent constructions consist of two 8-foot tripods connected with two parallel 8-foot or 10-foot platform supports over which we lash the cooking platform. With this design, you can build a cooking fire under one or both tripods and suspend a pot over each. Of course the platform is superb for Dutch Oven use and ideal for foil cooking.
Looking good and feeling good at Playcard Environmental Education Center during Swampfest.
Materials needed for a Double Tripod Chippewa Kitchen
two 10-foot x 3-inch platform support spars (For a smaller Chippewa Kitchen, 8-foot spars work great.)
six 8-foot x 3-inch tripod leg spars
four 6-foot x 2-1/2-inch tripod braces
two 6-foot x 2-1/2 to 3-inch front tripod braces (to support the platform support spars)
twenty to forty 3 to 4-foot x 2-inch floor spars (depending on the size of the cooking surface required)
sixteen 15-foot x 1/4-inch manila lashing ropes for square lashings
two 20-foot x 1/4-inch manila lashing ropes for tripod lashings
binder twine for floor lashing
piece(s) of burlap, terry cloth, or canvas to cover cooking platform
Here’s a procedure to make a Double Tripod Chippewa Kitchen:
Build the tripods. Lay three 8-foot tripod legs side by side and lash them together with a tight tripod lashing. Make sure the butt ends are at the bottom and even.
Stand the tripod up by crossing the outside legs underneath the middle leg.
Repeat this process for the second tripod.
Labelled Chippewa Kitchen Spars (Click on the photo for a larger view.)
Lash on the tripod braces. Connect the two outside legs with one of the 6-foot front tripod braces. With tight square lashings, lash the brace so it is perpendicular to the ground and three feet high. Lash another 6-foot tripod brace to each outside leg and connect them to the middle leg with square lashings, about two feet and two and a half feet high respectfully.
Repeat this process for the second tripod, making sure the front tripod brace connecting the outside legs is again, three feet high.
Position the tripods. Place the tripods so the 6-foot tripod braces lashed to the outside legs (the stout ones that are three feet off the ground) are facing each other. These braces are the ones that will hold up the long platform support spars, which in turn will support the cooking platform. The distance between the two tripods should be close enough so the long platform support spars can extend over each brace by at least six inches.
Lash on the platform support spars. Place the long platform support spars parallel to each other on top of the three foot high tripod brace on each tripod. Space them apart so the shortest floor spar will extend over their edges by six inches on either side. Lash them in place with tight square lashings.
Lash on the floor spars. The cooking surface is made up of 3 to 4-foot x 2-inch floor spars, depending on how wide a cooking area will be required. These are lashed onto the parallel platform supports with a floor lashing using binder twine.
Prepare the cooking surface. Prior to adding 2 to 3 inches of mineral soil, and to keep he mineral soil from falling though spaces between the floor spars, spread pieces of burlap, terry cloth, or canvas over the platform.
Finally, cover the platform with a layer of mineral soil thick enough to protect the floor spars from the intense heat that will be generated from the coals during cooking.
Construction is logical and easy. Burlap is a practical layer between the platform floor spars and the mineral soil.
A Covered Double Tripod Chippewa Kitchen during an American Legion Open House